If you could see "Val's bowl" better, which is an open, rounded square, you'd notice that the openings in the coils aren't located on corners because they would have tended to crack while drying or even in the firing process - I had a bowl crack in glaze firing after coming out of bisque perfectly whole. Even with a very long, two week drying period that piece did warp a bit so that the bottom isn't entirely flat (this can always be corrected with felt pads on the feet - add another on the "short" foot) and the piece can rock.
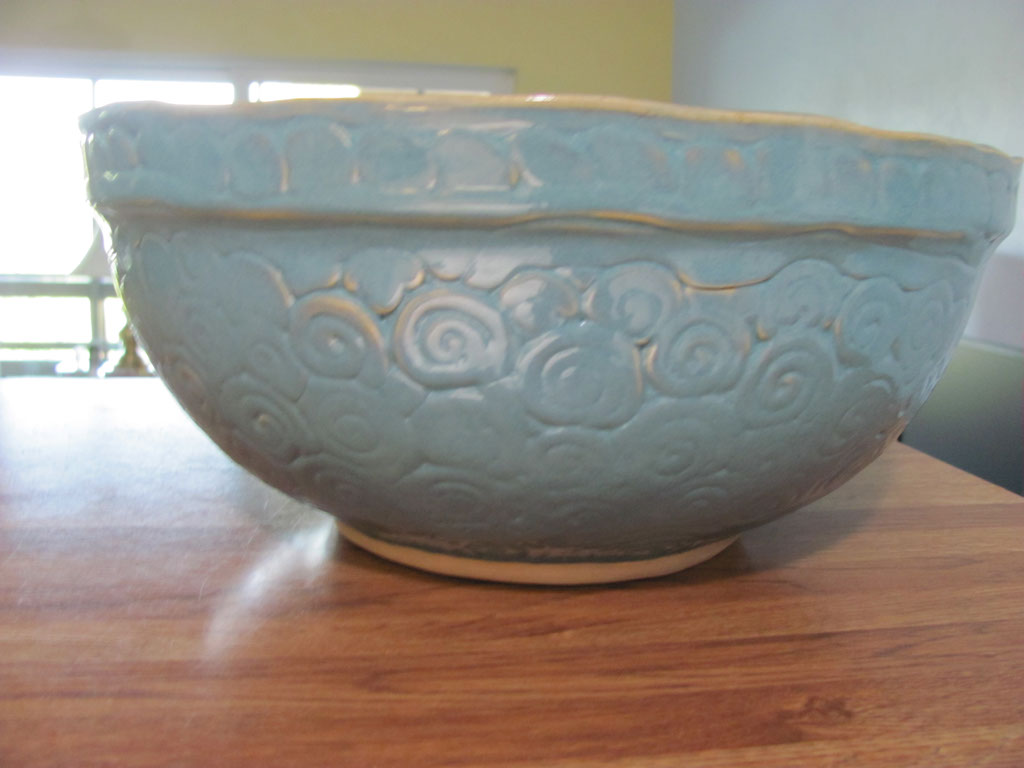
This one makes me very happy. It's surprisingly light. I took a long time smoothing the interior so that it's very consistent. The coils are small and didn't crack when rolled or applied to the form, they all coil in the same direction, you can still see them (this glaze can be opaque), the glaze didn't crawl or pool (too much) in the bottom, and while this light blue can be sort of boring (I like glazes that DO things) the texture of the bowl makes the end result more interesting. Happy early birthday, Mom! This is a huge improvement on the coil bowl I originally made for her that had some fractures and a less than perfect glaze result.

it matches your carpet!
ReplyDeleteGorgeous!!! xoxoxo
ReplyDelete